Get ready to bake the most adorable Meringue Christmas Tree Cookies this holiday season! These delightful treats are light, airy, and bursting with festive cheer. With their crisp exterior and melt-in-your-mouth interior, they’re sure to become a cherished part of your holiday baking tradition. You’ll love how simple they are to create, making them perfect for beginners and busy parents alike.
Why You’ll Love These Meringue Christmas Tree Cookies
- Delicious Festive Flavor: These meringue cookies offer a sweet, delicate taste that perfectly complements holiday celebrations.
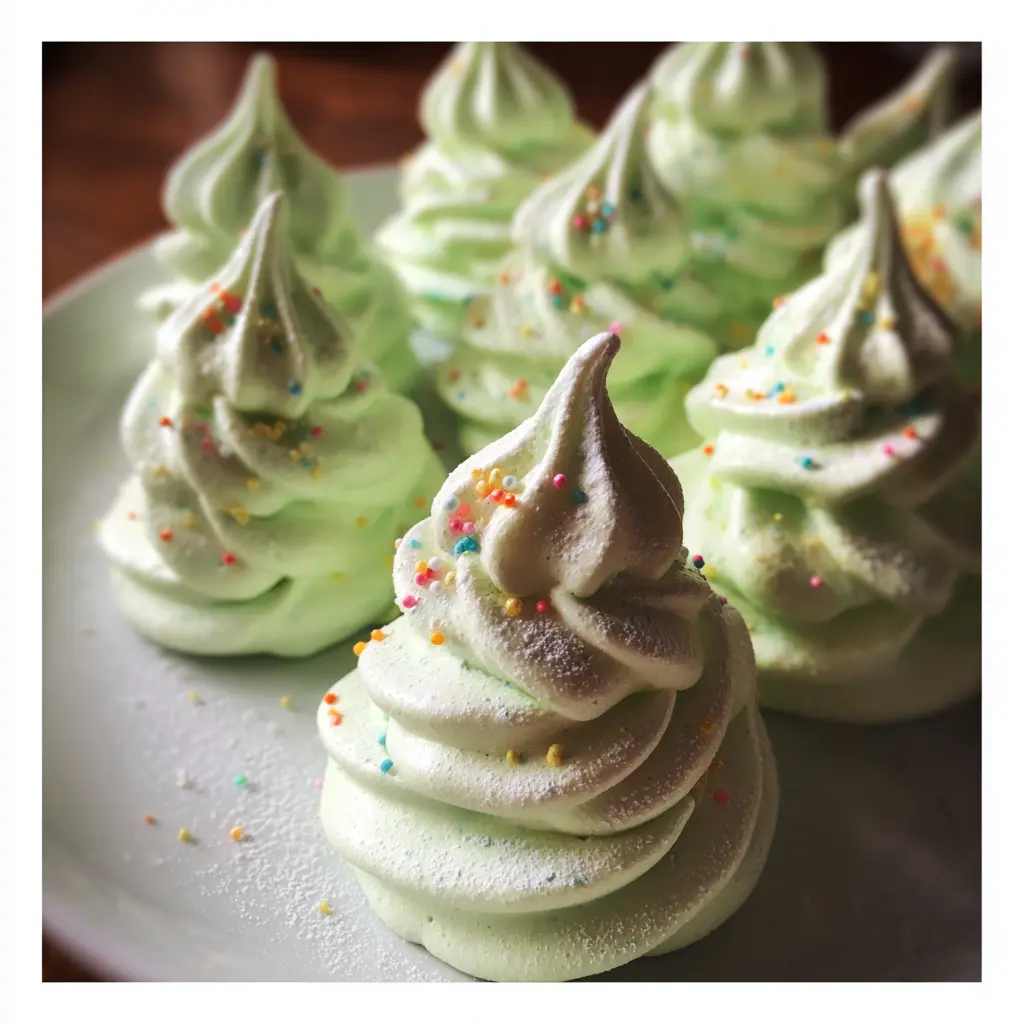
- Visually Stunning Holiday Treat: Their charming Christmas tree shape and vibrant green color make them a showstopper on any dessert table.
- Simple Ingredients, Easy Steps: You only need a few common pantry staples and straightforward instructions to make these festive Meringue Christmas Tree Cookies.
- Perfect for Gifting or Platters: Package them beautifully for homemade gifts or arrange them on a holiday platter for an instant festive touch.
- Customizable with Colors and Sprinkles: Easily change the color or sprinkle combinations to match your holiday theme or personal preference.
Ingredients
Gather these simple ingredients to create your beautiful Meringue Christmas Tree Cookies:
- 4 large eggs, separated, at room temperature
- 1 cup granulated sugar (preferably superfine)
- Pinch of salt
- 1/2 teaspoon cream of tartar
- 1 teaspoon vanilla extract OR 1/4 teaspoon peppermint extract
- Green gel food coloring, about 20 drops (adjust for desired shade)
- Tiny holiday sprinkles of your choice
- Powdered sugar, for dusting (optional)
Notes & Substitutions
Superfine sugar dissolves more easily into the meringue, giving a smoother texture. If you only have regular granulated sugar, pulse it briefly in a food processor to create a finer consistency.
According to culinary science, cream of tartar stabilizes egg whites by preventing proteins from sticking together and helping them achieve full volume.
Cream of tartar is crucial; it stabilizes the egg whites, helping them reach stiff peaks and preventing collapse. You can experiment with other extracts like almond or lemon for different flavor profiles. Gel food coloring provides vibrant color without adding excess liquid, which can destabilize the meringue. Choose festive sprinkles like stars, nonpareils, or traditional jimmies.


Meringue Christmas Tree Cookies
Equipment
- Electric Mixer
- Piping Bag with Star Tip
- Baking Sheet
Ingredients
Meringue
- 3 egg whites room temperature
- 3/4 cup granulated sugar
- 1/4 tsp cream of tartar
- 1/2 tsp vanilla extract
- green gel food coloring
- holiday sprinkles or edible stars for decoration
Instructions
- Preheat oven to 200°F (95°C). Line a baking sheet with parchment paper.
- In a clean bowl, beat egg whites and cream of tartar until soft peaks form.
- Gradually add sugar, one tablespoon at a time, beating until stiff peaks form and mixture is glossy. Beat in vanilla and green food coloring.
- Transfer mixture to a piping bag fitted with a star tip. Pipe tree shapes onto baking sheet.
- Top with sprinkles or edible stars. Bake for 90 minutes, then turn off oven and let cool inside with door closed.
Notes
Nutrition
Equipment
You don’t need much specialized equipment for these delightful cookies. Here’s what you’ll need:
- Stand mixer with a whisk attachment (or a powerful hand mixer)
- Large mixing bowl
- Piping bag
- Star piping tip (such as Wilton 1M or 21)
- 2 large baking sheets
- Parchment paper
Instructions
Follow these simple steps to bake your perfect batch of Meringue Christmas Tree Cookies. Remember, patience during baking and cooling is key!
Step 1: Prepare Your Oven and Baking Sheets
Preheat your oven to a low 200°F (95°C). Line two large baking sheets with parchment paper. This prevents sticking and makes cleanup easy.
Step 2: Carefully Separate Egg Whites
Crack each egg into a small bowl, carefully separating the yolk from the white. Transfer each clean egg white into your stand mixer bowl before cracking the next egg. This prevents a broken yolk from spoiling all your whites.
Step 3: Whip Egg Whites to Foamy Stage
Attach the whisk to your stand mixer. Begin beating the room temperature egg whites on medium speed until they become frothy and foamy, like a bubble bath. This usually takes about 1-2 minutes.
Step 4: Add Cream of Tartar, Beat to Soft Peaks
Sprinkle the cream of tartar into the foamy egg whites. Increase the mixer speed to medium-high and continue beating. The whites should begin to hold soft peaks that gently flop over when you lift the whisk.
Step 5: Gradually Add Sugar and Salt
With the mixer still running on medium-high speed, slowly add the granulated sugar, one tablespoon at a time. This allows the sugar to fully dissolve. Add a small pinch of salt along with your final tablespoon of sugar.
Step 6: Beat Until Stiff, Glossy Peaks Form
Continue beating the meringue on high speed for about 7-10 minutes. The mixture should become very thick, glossy, and hold stiff, upright peaks when you lift the whisk. You should not feel any sugar granules when rubbing a tiny bit between your fingers. Add your chosen vanilla or peppermint extract and beat just long enough to incorporate it.
Step 7: Gently Fold in Food Coloring
Turn off the mixer. Add the green gel food coloring drops to the meringue. Very gently fold in the coloring with a spatula until it’s evenly distributed. Be careful not to deflate the beautiful air you’ve whipped into the meringue.
Step 8: Transfer Meringue to Piping Bag
Fit a piping bag with your preferred star tip. Carefully scoop the colored meringue into the prepared piping bag. Twist the top of the bag to seal it, preventing meringue from coming out the top.
Step 9: Pipe Meringue into Tree Shapes
Hold the piping bag vertically, just above the parchment-lined baking sheet. Apply steady pressure to pipe small Christmas tree shapes. Start with a wide base, then pipe upward in decreasing circles or a continuous swirl to form the tree shape, lifting the bag as you finish the top. Leave about one inch between each tree.
Step 10: Decorate with Sprinkles
Lightly sprinkle your festive sprinkles over the tops and sides of the freshly piped meringue trees. The sprinkles will adhere to the slightly sticky meringue.
Step 11: Bake and Cool Completely in Oven
Place the baking sheets in the preheated 200°F (95°C) oven. Bake for 1 hour. After baking, turn off the oven but do not open the oven door. Allow the Meringue Christmas Tree Cookies to cool completely inside the closed oven for at least 2 hours, or ideally overnight. This slow cooling prevents cracking.
Step 12: Gently Remove from Parchment
Once fully cooled, carefully peel the baked meringue trees from the parchment paper. They should lift off easily. Dust lightly with powdered sugar before serving, if desired, for a “snowy” effect.
Pro Tips & Troubleshooting
Achieving perfect meringues is simple with a few key tricks. As explained by Tasting Table, clean equipment is crucial for successful meringue to prevent fats from hindering egg whites from whipping properly. Always use clean, dry equipment to prevent any grease from hindering your egg whites from whipping properly. Room temperature eggs produce the best volume, so plan ahead and let them sit out for 30 minutes. When adding food coloring, use gel coloring and fold it in gently with a spatula to maintain the meringue’s airiness. For perfect piping, practice on a separate sheet of parchment if you are new to it. Apply consistent pressure and lift steadily. The slow baking and cooling process is vital for crisp, stable meringues.
Troubleshooting Common Meringue Issues
- Why meringues crack or weep: Often caused by baking at too high a temperature or cooling too quickly. Stick to a low oven and cool completely inside the oven. High humidity can also cause weeping.
- How to fix chewy meringues: Chewy meringues are usually underbaked. Ensure they are completely dry and crisp before removing them from the oven.
- Signs of under/over-beating: Under-beaten meringue won’t hold its shape. Over-beaten meringue looks curdled and can become dry and crumbly, losing its gloss. Aim for stiff, glossy peaks.
- Humidity’s effect on meringues: Meringues absorb moisture easily, making them sticky or soft in humid conditions. Try to bake on a dry day.
Serving, Storage, & Variations
Serving Suggestions
These delightful Meringue Christmas Tree Cookies are perfect for various festive occasions. Arrange them beautifully on holiday platters alongside other treats for a stunning presentation. Use smaller meringues as adorable cupcake toppers for a whimsical touch. For gifting, place them in decorative boxes or cellophane bags tied with a ribbon; they make thoughtful, homemade presents.
Storage Instructions
Proper storage is crucial to keep your meringue cookies crisp. Store your Meringue Christmas Tree Cookies in an airtight container at room temperature. A cool, dry pantry is ideal. Do not refrigerate meringues, as the moisture will make them soft and sticky. When stored correctly, they will stay fresh and crisp for up to two weeks.
Flavor & Color Variations
Unleash your creativity with these versatile cookies! Experiment with different extracts like almond, lemon, or even a touch of rum extract for unique flavors. Use various food coloring shades to create blue, pink, or even multi-colored trees. You can also mix in different types of sprinkles, such as metallic accents or larger edible stars. For extra sparkle, brush on a little edible glitter after baking.
Nutrition
Here’s an estimated nutritional breakdown for one serving of these lovely meringues:
| Nutrient | Amount |
|---|---|
| Calories | 50 |
| Total Fat | 0g |
| Cholesterol | 0mg |
| Sodium | 5mg |
| Total Carbohydrates | 12g |
| Sugars | 12g |
| Protein | 1g |
Please note: These are approximate values and may vary based on specific ingredient brands and preparation methods. This information is for general guidance only.
Conclusion
These delightful Meringue Christmas Tree Cookies are more than just a treat; they are a joyful expression of holiday spirit. Their light, airy texture and festive appearance make them an irresistible addition to any celebration. Simple to make and wonderfully charming, they promise to bring smiles to everyone who tries them. Embrace the joy of holiday baking and share your beautiful creations with loved ones this season. We can’t wait to see your festive Meringue Christmas Tree Cookies!
FAQ
Can I make these Meringue Christmas Tree Cookies ahead?
Absolutely! Meringues are perfect for making ahead. Store them in an airtight container at room temperature for up to two weeks.
Why did my meringues flatten?
Flattened meringues are often due to under-beating the egg whites or opening the oven door too soon during baking or cooling. Ensure stiff peaks are achieved and let them cool completely in the closed oven.
Can I freeze meringue cookies?
It’s generally not recommended to freeze meringue cookies. Freezing and thawing can introduce moisture, making them sticky and chewy.
What piping tip works best?
A star tip, such as Wilton 1M or 21, works beautifully for creating realistic and textured Christmas tree shapes. You can experiment with other star tips for different effects.
How many cookies does this recipe yield?
This recipe typically yields about 24 festive Meringue Christmas Tree Cookies, depending on their size.


