Bring festive cheer to your holiday table with these adorable Easy Snowman Cake Pops! Crafted for simplicity, this recipe uses a convenient box cake mix to create delightful treats everyone will love. Emily’s kitchen makes crafting these charming snowman pops straightforward and fun, even for beginners. Get ready to bake, decorate, and enjoy a truly magical Christmas treat that brightens any celebration.
Why You’ll Love These Easy Snowman Cake Pops
- Effortless Preparation: Utilize simple, readily available ingredients like a box cake mix and pre-made frosting for a quick start. These Easy Snowman Cake Pops come together without fuss.
- Irresistibly Cute: Their charming snowman design makes them a visual delight. They add a festive and whimsical touch to any holiday gathering.
- Party Favorite: Guests of all ages adore these individual treats. They are perfect for holiday parties, school events, or family celebrations, bringing smiles everywhere.
- Creative Fun: Enjoy the artistic process of decorating each pop. Personalize your snowmen with various candy details and sprinkles, making each one unique.
- Kid-Friendly Activity: Involve the little ones in shaping and decorating. It’s a fantastic way to create lasting holiday memories together in the kitchen.
Ingredients
Gather these simple ingredients to create your festive Easy Snowman Cake Pops. You will need a box of vanilla cake mix, which serves as the base for your delightful treats. A generous portion of vanilla icing helps bind the cake crumbs into a workable dough. White candy melts provide the perfect snowy coating, while mini chocolate chips and orange sprinkles add the classic snowman features.
- 1 box vanilla cake mix (plus ingredients listed on box)
- 1/3 cup vanilla icing
- 1 bag white candy melts (12 oz)
- Mini chocolate chips (for the eyes & buttons)
- Orange sprinkles or orange candy melts for the nose
Notes & Substitutions
Feel free to experiment with your cake mix base; chocolate, red velvet, or even funfetti offer delicious variations. For the frosting, cream cheese or any buttercream works wonderfully to bind the cake crumbs. If you cannot find white candy melts, use white chocolate chips, though they might require a bit more thinning. Get creative with decorations; small pieces of black licorice or edible markers can substitute for mini chocolate chips, and you can even craft tiny scarves from colored fondant or piped icing.
 1")
 2")
Easy Snowman Cake Pops
Equipment
- Mixing Bowl
- Cake Pop Sticks
- Microwave or Double Boiler
Ingredients
Cake Pops
- 1 box cake mix plus ingredients listed on the box, any flavor
- 1/2 cup frosting store-bought or homemade
- 1 bag white candy melts
- black decorating gel or icing for eyes and mouth
- orange sprinkles or icing for noses
Instructions
- Prepare cake according to box instructions. Let cool, then crumble into a bowl.
- Mix in frosting until the mixture holds together. Roll into 1-inch balls and place on a baking sheet. Chill for 15–30 minutes.
- Melt candy melts in microwave or double boiler. Dip sticks into melted candy, then insert into cake balls. Let set briefly.
- Dip cake pops into melted candy to coat. Allow excess to drip off. Stand upright in a foam block or cup to dry.
- Once set, use black gel for eyes and mouth, and orange for the nose to complete the snowman faces.
Notes
Nutrition
Equipment
Having the right tools makes crafting these Easy Snowman Cake Pops a breeze. Ensure you have standard kitchen items for baking your cake. Special items for the cake pop creation will simplify the process significantly.
- Mixing bowls (large and medium)
- Two 8×8-inch round cake pans
- Baking sheet
- Parchment paper
- Lollipop sticks
- Styrofoam block or a tall glass (for drying the finished cake pops)
- Microwave-safe bowl (for melting candy melts)
Instructions
Creating these Easy Snowman Cake Pops is a joyful and simple process, perfect for beginners. Follow these step-by-step instructions to make your adorable holiday treats.
- Bake Cake: Prepare your vanilla cake batter according to the package directions. Grease your two 8×8-inch round cake dishes thoroughly. Pour the batter evenly into the prepared pans. Bake the cake in a 350°F (175°C) oven until a toothpick inserted into the center comes out clean, typically 25-30 minutes. Let the cakes cool completely on a wire rack.
- Crumble Cake: Once the cake is fully cooled, transfer it to a large mixing bowl. Use a fork or your hands to crumble the cake finely. Aim for a texture resembling coarse sand; no large chunks should remain.
- Mix Cake & Frosting: Add 1/3 cup of vanilla icing to the crumbled cake. Use your hands to thoroughly mix the frosting into the cake crumbs until the mixture comes together and forms a cohesive dough-like consistency. It should be firm enough to roll without crumbling.
- Form Snowman Shapes: Take small portions of the cake mixture. Roll them into smooth balls, creating two different sizes for each snowman: a slightly smaller ball for the head and a larger one for the body. Place the formed balls on a baking sheet lined with parchment paper.
- Chill Cake Balls: Place the baking sheet with the cake balls into the freezer for at least 20 minutes, or until they are very firm. This chilling step is crucial for preventing them from falling apart during dipping.
- Assemble Snowmen: While the cake balls chill, melt the white candy melts in a microwave-safe bowl. Heat in 30-second intervals, stirring well after each, until smooth and fully melted. Dip the tip of a lollipop stick into the melted chocolate, then gently insert it about halfway into a smaller, frozen cake ball (the head). Dip the stick into the chocolate again, then attach a larger frozen cake ball (the body) beneath the head, pressing gently to secure. The melted chocolate acts as “glue.”
- Freeze Assembled Snowmen: Return the assembled snowman pops to the freezer for another 10 minutes. This ensures the stick is firmly set and the snowman shape is stable for dipping.
- Dip in White Chocolate: Remove the frozen snowmen from the freezer. Hold each snowman by its stick and carefully dip it completely into the melted white candy melts. Gently twist the pop and tap the stick against the edge of the bowl to remove any excess chocolate, ensuring a smooth, even coating.
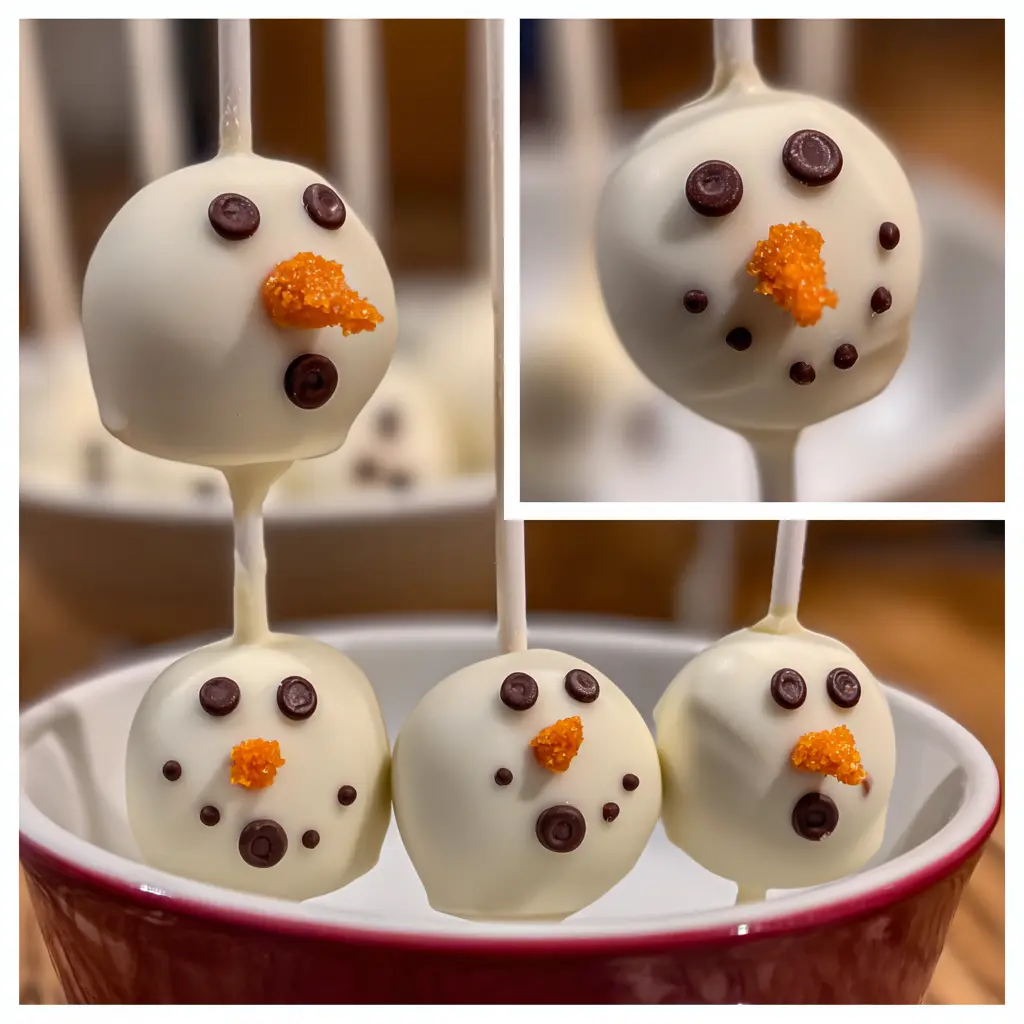
- Decorate Snowmen: While the chocolate coating is still wet, immediately attach two mini chocolate chips for the eyes and three more for the buttons down the body. Press an orange sprinkle or a small piece of orange candy melt into the face for the snowman’s carrot nose. Work quickly before the chocolate sets.
- Set & Enjoy: Insert the decorated Easy Snowman Cake Pops into a Styrofoam block or a tall glass to allow the chocolate to fully harden. This takes about 10-15 minutes at room temperature. Once set, your adorable snowman cake pops are ready to enjoy!
Pro Tips & Troubleshooting
Achieving perfect Easy Snowman Cake Pops is simple with a few helpful pointers. Remember, practice makes perfect, especially when dipping!
- Perfectly Chilled Balls: Always ensure your cake balls are very firm and cold before dipping. This prevents them from crumbling or falling off the stick into the warm chocolate.
- Melt Chocolate Gently: Overheating candy melts causes them to seize. Use short bursts in the microwave, stirring often. If your chocolate is too thick, add a teaspoon of coconut oil or shortening to thin it.
- Smooth Coating Technique: Dip the cake pop in one fluid motion. Twist it gently as you pull it out. Then, tap the stick against the bowl’s edge to let excess chocolate drip off.
- Prevent Cracks: Cracks usually happen when the cake ball is not cold enough, or the chocolate is too hot. Keep your cake balls well-chilled and melt your chocolate slowly.
- Creative Toppings: For extra detail, use edible food markers to draw mouths or add tiny candy cane pieces for arms. You can also pipe thin lines of colored icing to create scarves.
Serving, Storing, & Variations
These charming Easy Snowman Cake Pops are a delightful addition to any celebration. Knowing how to serve and store them properly ensures maximum enjoyment. You can also customize them to suit any holiday theme.
How to Serve
Present your finished snowman pops upright on a festive platter. For a touch of elegance, place each pop in a mini cupcake liner. Arrange them on a tiered dessert stand to create an impressive display. They also make wonderful homemade gifts when individually wrapped in small cellophane bags tied with a ribbon.
How to Store
- Room Temperature: Store leftover cake pops in an airtight container for up to 3 days. Keep them away from direct sunlight or heat.
- Refrigeration: For extended freshness, place the sealed container in the refrigerator for up to 1 week. Bring them to room temperature before serving for the best texture.
- Freezer: For longer storage, wrap each cake pop individually in plastic wrap, then place them in an airtight freezer-safe bag or container. They will last for up to 1 month. Thaw in the refrigerator before serving.
Following proper guidelines for storing baked goods safely can help maintain their quality and prevent spoilage.
Variations
- Cake Flavors: Experiment with chocolate cake for a rich, dark contrast, red velvet for a vibrant holiday hue, or Funfetti for a playful, colorful interior.
- Frosting Types: Beyond vanilla, try cream cheese frosting for a tangy note, or a classic buttercream for extra richness in your snowman pops.
- Decoration Ideas: Add colored sprinkles for hats, edible glitter for a frosty sparkle, or even mini candy eyes for a quicker decorating option.
Nutrition Information
Enjoying these Easy Snowman Cake Pops is part of the holiday fun! Here is a general nutritional breakdown per serving. Please note that exact values can vary based on specific brands and ingredient choices. This information is an estimate.
| Nutrient | Amount Per Serving |
|---|---|
| Calories | 210 kcal |
| Total Fat | 12g |
| Saturated Fat | 7g |
| Cholesterol | 20mg |
| Sodium | 160mg |
| Total Carbohydrates | 25g |
| Dietary Fiber | 0g |
| Total Sugars | 20g |
| Protein | 1g |
*Values are approximate and based on third-party calculations.*
Conclusion
Creating Easy Snowman Cake Pops is a delightful way to add festive cheer to your holiday season. This recipe simplifies the process, making it accessible and enjoyable for every baker, regardless of experience. From the convenience of a box mix to the joy of decorating, these charming treats are sure to bring smiles. We encourage you to try this recipe, gather your loved ones, and make some cherished holiday memories. Share your adorable snowman creations on social media!
Frequently Asked Questions (FAQ)
Making these Easy Snowman Cake Pops is simple, but a few common questions often arise. Here are some quick answers to help you along.
Can these be made in advance?
Yes, you can prepare the cake balls and even dip them several days before your event. Store them properly, and they will remain fresh.
What is the best frosting for binding?
Vanilla or cream cheese frostings work exceptionally well due to their creamy texture. They help create a firm, moldable cake dough.
How can I customize decorations?
Get creative with mini candies, edible glitter, or even tiny royal icing details. Try making different sized noses or adding little candy buttons.
How to prevent dry cake pops?
Ensure you don’t overbake the cake. Also, do not add too much frosting, as this can make the pops dense instead of moist.
How long do they stay fresh?
When stored correctly in an airtight container, these delightful treats stay fresh for about 3 days at room temperature. Refrigeration extends their life up to a week.
Why are these perfect for holidays?
Their adorable snowman shape instantly brings a festive, whimsical touch to any holiday gathering. They are fun to make and share.
Can I use orange chocolate for the nose?
Absolutely! Melting a few orange candy melts and piping tiny carrot shapes works perfectly for a sturdy, edible nose.
What cake mix flavor works best?
Vanilla cake mix is a classic choice for these Easy Snowman Cake Pops as it provides a neutral base for the white chocolate and festive decorations.


