Introduction
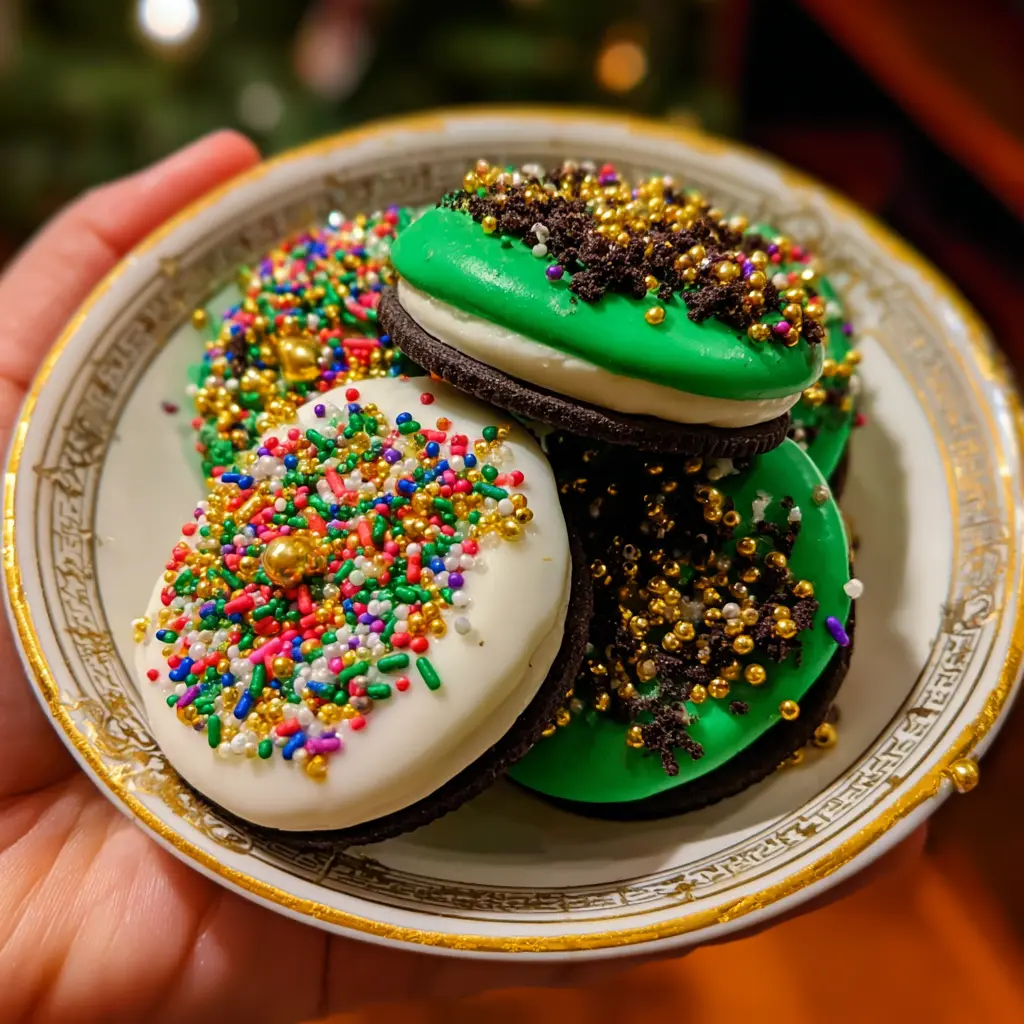
Get ready to add a sprinkle of joy to your holidays with these delightful Christmas Oreos! This no-bake recipe makes creating festive treats incredibly simple and fun. You will love how quickly these come together, transforming classic Oreos into a stunning holiday masterpiece. Perfect for last-minute party platters or thoughtful homemade gifts, these easy Christmas Oreos are a must-make festive holiday treat.
Why You’ll Love These Christmas Oreos
These delicious Christmas Oreos are truly a holiday favorite for many reasons.
- Quick & Easy No-Bake: You will love that there is no oven required, saving you time and effort during busy holiday seasons.
- Minimal Ingredients: This recipe uses just a few simple items, making it accessible and budget-friendly for everyone.
- Highly Customizable: You can get creative with various Oreo flavors and an endless array of sprinkles and decorations.
- Visually Stunning: These festive treats look impressive on any holiday dessert table, delighting guests of all ages.
- Fun for All Ages: Decorating these is a fantastic activity to involve kids, creating cherished holiday memories together.
- Perfect for Gifting: Package them beautifully for homemade presents or arrange them on a platter for your holiday gatherings.
Ingredients
To make these festive Christmas Oreos, gather your ingredients. You will need a good quality white chocolate or convenient white candy melts for dipping. Have your favorite Oreo cookies ready, along with vibrant green candy melts for the tree design. For decoration, optional rainbow nonpareils, yellow or gold beads/stars, and chocolate jimmies will add extra holiday cheer.
- 4 ounces white chocolate or white candy melts
- 12 Oreo cookies (any flavor)
- 2 ounces green candy melts
- Rainbow nonpareils (optional)
- Yellow or gold beads or stars (optional)
- Chocolate jimmies (optional)
Notes & Substitutions
- White Chocolate vs. Candy Melts: White chocolate offers a richer flavor, but candy melts are easier to work with, melt smoother, and dry faster. Choose based on preference and ease.
- Oreo Varieties: Classic Oreos work perfectly, but feel free to experiment with holiday-themed flavors like peppermint, golden, or even peanut butter for unique Oreo cookies.
- Tinting White Chocolate: If using white chocolate, add gel food coloring for vibrant hues. Liquid food coloring can cause chocolate to seize.
- Sprinkles & Decorations: Let your imagination run wild! Use any festive sprinkles, edible glitter, or small candies to customize your holiday cookies.


Easy Christmas Oreos Dipped in Chocolate
Equipment
- Microwave-safe bowl
- Baking Sheet
Ingredients
Main Ingredients
- 24 Oreo cookies any variety
- 12 oz white chocolate or candy melts melted
- 12 oz semi-sweet chocolate or dark chocolate melted
Decorations
- holiday sprinkles
- crushed peppermint optional
Instructions
- Line a baking sheet with parchment or wax paper.
- Melt the white and dark chocolate separately in microwave-safe bowls in 30-second intervals, stirring in between until smooth.
- Dip each Oreo halfway or fully into the melted chocolate. Let excess drip off.
- Place the dipped cookies on the prepared baking sheet.
- Immediately top with holiday sprinkles or crushed peppermint before the chocolate sets.
- Let the cookies set at room temperature or refrigerate until firm, about 15 minutes.
Notes
Nutrition
Equipment
Gathering your tools before starting makes the process smooth and enjoyable. You will need a large baking sheet and parchment paper or a silicone baking mat for easy cleanup. Prepare small, shallow microwave-safe bowls for melting chocolate. A double boiler is an optional alternative. For detailed decorating, have a piping bag, a small cookie decorating bottle, and a size 1 or 2 piping tip ready. Small tongs or clean tweezers can also assist with delicate decorations, making these special holiday treats.
Instructions
Let’s create some beautiful Christmas Oreos! Follow these simple steps for perfectly dipped and decorated treats.
- Prepare Baking Sheet: Line a large baking sheet with parchment paper or a silicone baking mat. This prevents sticking and makes cleanup a breeze. Set it aside.
- Melt White Chocolate: Gently melt the white chocolate or white candy melts. Use a small, shallow microwave-safe cup or bowl, heating in 30-second intervals and stirring until smooth. Alternatively, use a double boiler for even melting. If using a double boiler, transfer the melted chocolate to a small, shallow bowl for easy dipping.
- Dip Oreos: Working with one Oreo at a time, dip the bottom half of the cookie into the melted white chocolate. Ensure an even coating. Carefully lift the Oreo, letting any excess chocolate drip off.
- Set First Layer: Place the dipped Oreos onto your prepared baking sheet. Allow the white chocolate to harden completely at room temperature, which usually takes about 15 minutes. This step is crucial for the stability of your Christmas Oreos.
- Melt Green Candy Melts: Once the white chocolate is set, melt the green candy melts. Use the same method as the white chocolate: microwave in a small, microwave-safe bowl or use a double boiler until smooth and free of lumps.
- Prepare for Piping: Transfer the melted green candy to a piping bag. Snip off just a very tiny bit of the corner. For more control, use a piping bag fitted with a size 1 or size 2 piping tip, or use a small cookie decorating bottle with a size 2 tip. This helps create precise tree designs on your Christmas Oreos.
- Decorate Trees: Use a zig-zag motion to pipe lines onto the white chocolate portion of each Oreo, forming the shape of an abstract Christmas tree.
- Add Sprinkles: Immediately after piping the green tree, add your chosen decorations, such as rainbow nonpareils, yellow/gold beads, or stars. The green candy melts will set quickly, so decorate one or two Oreo cookies at a time to ensure the sprinkles stick.
- Add Tree Trunks (Optional): If desired, pipe a small chocolate jimmie at the base of your green tree to create a “trunk.”
- Final Set: Allow the decorated Christmas Oreos to set completely. This ensures the decorations are firm and prevents smudging. Store leftovers at room temperature.
Pro Tips & Troubleshooting
Achieving perfect results with your Christmas Oreos is easy with these helpful tips.
- Melting Chocolate: Always melt chocolate or candy melts slowly on low heat. Stir frequently to prevent scorching and ensure a smooth, even consistency.
- Prevent Seizing: Chocolate seizes when it comes into contact with even a tiny bit of water. Use dry bowls and utensils, and avoid any steam.
- Setting Patience: Allow chocolate to set fully at room temperature or in the refrigerator for a few minutes. Rushing this step can lead to messy, smudged designs.
- Batch Decorating: Work with one or two chocolate Oreos at a time when piping and adding sprinkles. This ensures the melted candy remains pliable for decorations to adhere.
- Piping Consistency: If your melted candy melts feel too thick for piping, add a tiny bit (1/4 teaspoon) of vegetable shortening or coconut oil. Stir until smooth.
- Common Mistakes: Overheating chocolate can cause it to become clumpy or burnt. Also, avoid handling the cookies prematurely before they have completely set.
A common issue when working with chocolate is seizing, which occurs when chocolate comes into contact with even a small amount of moisture, causing it to become thick and lumpy. For more detailed information on why chocolate seizes and how to prevent it, consider reviewing resources on the culinary science of chocolate.
Serving, Storage & Variations
These Christmas Oreos are versatile for any holiday occasion.
- Serving Suggestions
- Arrange your beautiful holiday Oreos on festive dessert platters for parties.
- Pair them with a warm mug of hot chocolate or your favorite coffee for a cozy treat.
- Offer them as a delightful conclusion to a holiday meal.
- Storage
- Store your decorated cookies in an airtight container at room temperature.
- They stay fresh and delicious for up to two weeks, making them ideal for make-ahead gifting.
- For longer storage, freeze the Oreos for up to two months. Thaw them at room temperature in a single layer to maintain their crunch.
- Variations
- Holiday Themes: Adapt this recipe for other holidays like Valentine’s Day (pink/red candy melts, heart sprinkles) or Halloween (orange/black candy melts, spooky sprinkles).
- Different Chocolate Flavors: Experiment with milk chocolate or dark chocolate for the base dip.
- Simple Drizzles: Instead of a tree design, simply drizzle contrasting chocolate over the dipped Oreos for an elegant look.
- Other Colorful Candy Melts: Use different colors like blue, red, or purple to match various party themes or preferences.
Nutrition Information
These sweet treats are meant for indulgence during the festive season. Please note that the nutritional values provided are approximate and can vary based on the specific brands and types of Oreos, chocolate, and decorations used. Enjoy them as part of a balanced diet.
| Nutrient | Amount Per Serving (approx.) |
|---|---|
| Calories | 160 kcal |
| Carbohydrates | 20g |
| Protein | 1g |
| Fat | 8g |
| Saturated Fat | 5g |
Disclaimer: Nutritional information is an estimate based on ingredients used and is for informational purposes only.
FAQ
Can I use milk or dark chocolate?
Yes, you can absolutely use milk or dark chocolate for dipping. The process remains the same, but the flavor profile will be richer.
Why did my chocolate coating seize?
Chocolate seizes when it comes into contact with even a tiny amount of water or steam. Ensure all your equipment is completely dry.
How do I make the chocolate smoother?
Add a small amount of vegetable shortening, coconut oil, or cocoa butter (1/2 teaspoon at a time) to melted chocolate until it reaches your desired consistency for dipping your Christmas Oreos.
Can these be made ahead of time?
Absolutely! These cookies store well for up to two weeks at room temperature, making them perfect for preparing in advance for parties or gifting.
What are the best gifting ideas?
Package these delightful cookies in small cellophane bags tied with festive ribbons, or arrange them in a decorative box with tissue paper. They make
Conclusion
You now have all the tools and tips to create an enchanting batch of Christmas Oreos. This recipe perfectly blends simplicity with festive charm, making it an ideal activity for beginners and busy parents alike. Enjoy the process of crafting your own stunning Christmas Oreos, sharing these joyful treats with loved ones, and celebrating the magic of the holiday season. They are truly a delicious way to spread holiday cheer!


