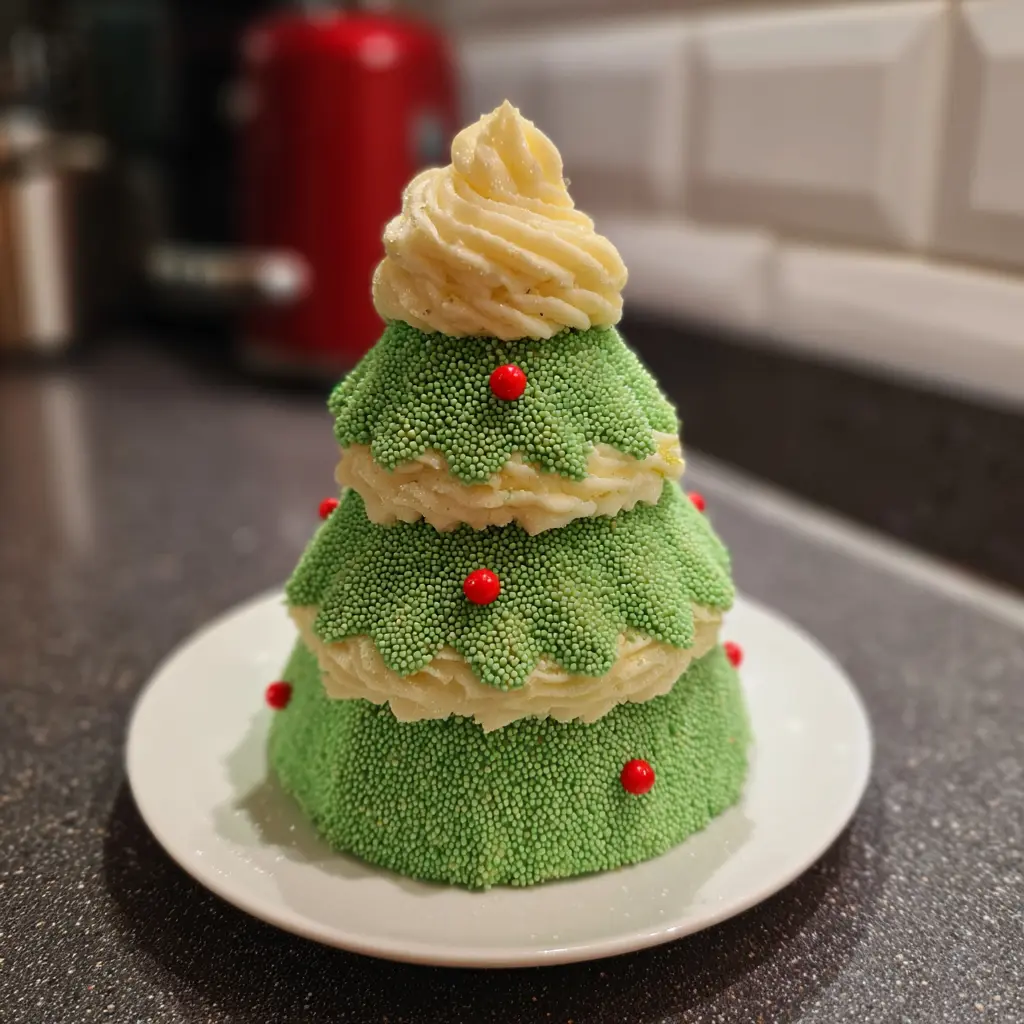
Remember those iconic holiday snack cakes from childhood? Now you can recreate that magic right in your own kitchen! These Copycat Little Debbie Christmas Tree Cakes feature a wonderfully soft vanilla cake, a sweet marshmallow cream filling, and a signature candy coating. Forget store-bought; making them at home lets you enjoy fresh, delightful festive treats that taste even better than you remember. Get ready to bake a batch of pure nostalgia!
Why You’ll Love This Recipe
You’ll adore making these Copycat Little Debbie Christmas Tree Cakes for many reasons!
- Experience the pure taste of childhood magic with every bite.
- Enjoy a perfectly soft, tender vanilla cake base that melts in your mouth.
- Savor the fluffy, sweet marshmallow filling that’s utterly irresistible.
- Appreciate the classic, shiny candy coating finish.
- Engage in a truly fun and festive holiday baking project with loved ones.
- Impress all your friends and family with these charming homemade treats.
Ingredients
Gather these simple ingredients to create your own delightful Copycat Little Debbie Christmas Tree Cakes at home. Each component plays a crucial role in achieving that perfect nostalgic flavor and texture.
For the Cake
- 1 1/4 cups all-purpose flour
- 1 tsp. baking powder
- 1/4 tsp. salt
- 1/2 cup unsalted butter, room temperature
- 1 cup granulated sugar
- 2 large eggs, room temperature
- 2 1/2 tsp. vanilla extract
- 1/2 cup buttermilk, room temperature
For the Marshmallow Filling
- 1 cup unsalted butter, room temperature
- 1 cup marshmallow fluff
- 3 cups confectioner’s sugar
- 2 tsp. vanilla extract
For Decorating
- 2 1/2 cups white candy melts
- 3 Tbsp. coconut oil
- 1/2 cup confectioner’s sugar
- 1-2 tsp. water (more if needed)
- 1 Tbsp. green sugar sprinkles
- 1-2 drops red food dye (gel preferred)
Notes & Substitutions
Ensuring your butter, eggs, and buttermilk are at room temperature is crucial for a smooth, emulsified batter and fluffy filling, as discussed by baking experts on why room temperature ingredients matter. If you don’t have buttermilk, combine 1/2 cup milk with 1/2 tablespoon lemon juice or white vinegar and let it sit for 5 minutes. For an even lighter cake, substitute 2 tablespoons of all-purpose flour with 2 tablespoons of cornstarch to mimic cake flour. Use white candy melts for the coating; they melt more smoothly and set firmer than white chocolate chips. Opt for gel food dye for vibrant red lines without adding too much liquid.


Copycat Little Debbie Christmas Tree Cakes
Equipment
- Sheet Pan
- Tree Shaped Cookie Cutter
- Mixing Bowls
Ingredients
Cake
- 1 box white cake mix plus ingredients per package
Filling
- 1/2 cup butter softened
- 1 1/2 cups powdered sugar
- 1 tsp vanilla extract
- 1-2 tbsp heavy cream as needed for consistency
Decoration
- 2 cups white chocolate or almond bark melted
- red icing for stripes
- green sprinkles
Instructions
- Preheat oven and prepare white cake mix as directed. Bake in a sheet pan and let cool completely.
- Beat butter, powdered sugar, vanilla, and cream until fluffy for filling.
- Cut cake into tree shapes using a cookie cutter. Spread filling between two layers.
- Dip assembled cakes in melted white chocolate or almond bark. Let set on parchment.
- Decorate with red icing stripes and green sprinkles. Let set before serving.
Notes
Nutrition
Equipment
You won’t need many special tools to create these lovely holiday cakes.
- Two ¼ sheet pans (or one ½ sheet pan)
- Parchment paper
- Electric mixer (stand or hand-held)
- Mixing bowls
- Rubber spatula/offset spatula
- Christmas tree cookie cutter (3.5-4 inches)
- Piping bag (or Ziploc bag with snipped corner)
- Cooling rack
- Forks for dipping
Instructions
Creating your own Copycat Little Debbie Christmas Tree Cakes is a fun process. Follow these detailed steps for the best results.
Make the Vanilla Sheet Cake
Preheat your oven to 350°F (175°C). Line two ¼ sheet pans with parchment paper and lightly grease them. In a small bowl, whisk together the flour, baking powder, and salt; set aside.
In a larger bowl, use an electric mixer to beat the room temperature butter and granulated sugar until light and fluffy, about 3-5 minutes. Add the eggs one at a time, mixing well after each, then stir in the vanilla extract.
Alternate adding the dry flour mixture and buttermilk to the wet ingredients, beginning and ending with the dry. Mix only until just combined; do not overmix. Use a silicone spatula to ensure everything is evenly incorporated from the bottom and sides of the bowl.
Divide the batter evenly between your prepped cookie sheets. Use an offset spatula to spread the batter smoothly and thinly across each pan. Bake for 10-12 minutes, or until the cake is light golden and springs back when lightly touched.
Let the cakes cool in their pans for 5 minutes, then invert them onto fresh parchment paper. If you used one ½ sheet pan, cut the cooled cake in half horizontally. Allow both cake halves to cool completely at room temperature.
Prepare the Marshmallow Filling
While the cakes cool, prepare your filling. In a large bowl, use an electric mixer to beat the room temperature butter and marshmallow fluff until smooth and no butter lumps remain. Scrape down the sides of the bowl frequently.
Gradually add the confectioner’s sugar to the butter mixture, mixing until well combined and fluffy. Stir in the vanilla extract until the filling is perfectly smooth and creamy.
Assemble & Chill the Cakes
Place one cooled cake layer onto a parchment-lined cookie sheet. Evenly spread the marshmallow filling over this first cake layer using an offset spatula. Carefully place the second cake layer on top, pressing gently to ensure it adheres to the filling.
Transfer this assembled cake to the freezer and chill for at least 1 hour. This step is crucial for clean cuts.
After chilling, use a 3.5 to 4-inch Christmas tree cookie cutter to cut out as many tree shapes as possible, usually around 8. Place these individual tree cakes back onto a parchment-lined cookie sheet. Re-freeze the tree cakes for at least 2 hours, or until very firm. This prevents them from falling apart during coating. Repurpose any cake scraps for delicious cake pops!
Coat & Decorate
Prepare your red glaze: In a small bowl, whisk together the ½ cup confectioner’s sugar, 1-2 teaspoons of water, and 1-2 drops of red food dye until smooth and vibrant. Transfer this red glaze to a small piping bag (or a Ziploc bag with a tiny corner snipped off). Set aside.
In a microwave-safe bowl, melt the white candy melts and coconut oil in 30-second intervals, stirring between each, until completely smooth and thin enough for dipping.
Working with one chilled tree cake at a time, use two forks to gently dip it into the melted candy coating, ensuring it’s fully submerged. Lift the cake, allowing excess coating to drip off back into the bowl. Place the coated tree cake onto a clean parchment-lined cookie sheet.
Immediately after placing the cake, sprinkle it generously with green sugar sprinkles. The coating will set quickly, so work fast. Let the coating partially set for about 30-45 seconds.
Now, use your piping bag with the red glaze to pipe the iconic zigzag lines onto each coated Christmas tree. Allow the decoration and coating to fully set, which takes about 15-20 minutes, before serving.
Pro Tips & Troubleshooting
- Thoroughly chill your assembled cake before cutting and the individual tree cakes before coating. This is key for clean, crisp cuts and preventing breakage during dipping.
- Avoid overmixing the cake batter once you add the flour. Overmixing develops gluten, leading to a tough, dense cake instead of a tender one.
- Scrape down the sides of the bowl often when making the filling to ensure all ingredients are incorporated for a smooth, lump-free marshmallow cream.
- Adjust candy melt consistency with more coconut oil (a teaspoon at a time) if it’s too thick. You want it thin enough for a smooth, even coat, but not so thin it runs off entirely.
- Work quickly when coating and adding sprinkles. The candy melts set fast, especially on a cold cake, so have your sprinkles ready.
- Repurpose cake scraps! Don’t let those delicious bits go to waste. Combine them with a little extra filling or frosting to make easy, delightful cake pops.
Serving, Storage, & Variations
Serving Suggestions
Serve these festive treats chilled for the best texture and firmness. They pair wonderfully with a warm mug of hot cocoa, a cup of coffee, or as a delightful addition to any holiday dessert platter.
Storage Instructions
Store your homemade Copycat Little Debbie Christmas Tree Cakes in an airtight container in the refrigerator for up to 1 week. For longer storage, you can freeze them in a freezer-safe, airtight container for up to 2 months. Thaw in the refrigerator before enjoying.
Creative Variations
- Chocolate Christmas Tree Cakes: Substitute 1/4 cup of the all-purpose flour with unsweetened cocoa powder for a chocolate cake base. Use chocolate candy melts for the coating.
- Alternative Sprinkles: Get creative with your holiday decor! Use silver, gold, white, or mixed festive sprinkles instead of green.
- Different Shapes: Break away from trees! Use other holiday cookie cutters like stars, gingerbread men, or bells for a varied festive spread.
- Flavor Boosts: Add a touch of peppermint extract to the cake batter or marshmallow filling for a cool, minty twist perfect for the season.
Nutrition Information
Please note that the following nutritional values are estimates only. The actual values can vary based on specific brands of ingredients used, preparation methods, and exact serving sizes.
| Nutrient | Amount Per Serving (1 cake) |
|---|---|
| Calories | 380 kcal |
| Total Fat | 18g |
| Saturated Fat | 11g |
| Cholesterol | 60mg |
| Sodium | 100mg |
| Total Carbs | 55g |
| Sugars | 45g |
| Protein | 3g |
Conclusion
Bringing the festive cheer of these homemade Copycat Little Debbie Christmas Tree Cakes to your holiday table is incredibly rewarding. With their delightful vanilla cake, creamy marshmallow filling, and signature candy coating, they capture all the nostalgic flavors and textures you love. This beginner-friendly recipe ensures a fun baking experience, yielding beautiful, delicious treats perfect for sharing. Go ahead, whip up a batch and spread some edible holiday magic this season!
FAQ
What size baking pan should I use?
Use two ¼ sheet pans for thinner cakes, or one standard ½ sheet pan. Cut the larger cake in half after baking.
Can I use white chocolate instead of candy melts?
White chocolate chips tend to be too soft and won’t set as firmly, making them difficult for dipping. Candy melts are recommended.
Why is my cake batter sticky when cutting?
Ensure your assembled cake is frozen solid for at least 1 hour. If it’s still sticky, refreeze for longer.
How do I prevent my sprinkles from falling off?
Sprinkle immediately after dipping the cake in candy melts, while the coating is still wet.
Can I make these ahead of time?
Absolutely! You can bake the cakes and make the filling a day ahead, storing them separately. The fully assembled and coated Copycat Little Debbie Christmas Tree Cakes store well in the fridge for up to a week.


